|
When we decided we wanted to go to Iceland, I immediately started planning ahead. I wanted to have a good understanding of where we would be, how long we would be there, etc. As I said in my previous post, we did extensive research to figure out where we’re going to go and what we’re going to do while we’re there. Since our time in Iceland is going to involve a lot of hiking and lots of sightseeing outside of the major cities, I wanted to use a map to figure out our general itinerary. For me, I found Google Drive to be extremely helpful. If you have Gmail, one have access to Google Drive. On Google Drive, you can create documents similar to Microsoft Word or Excel documents. However, in addition to this, it also offers an option to create maps. This map became instrumental in our planning. It helped us decide which parts of Iceland we wanted to see and how many places we would be able to see.
0 Comments
These past two summers, I’ve had the opportunity to travel to Iceland with my boyfriend (now my husband) and with friends. I was ridiculously excited for so many reasons. While this small island is about the size of Georgia, it has a wide variety of different landscapes. From waterfalls and glaciers to volcanoes and lava fields, we saw so many amazing landscapes while there. It felt like a completely different world. I found ridiculously cheap flights there, so it was decided that we would go!
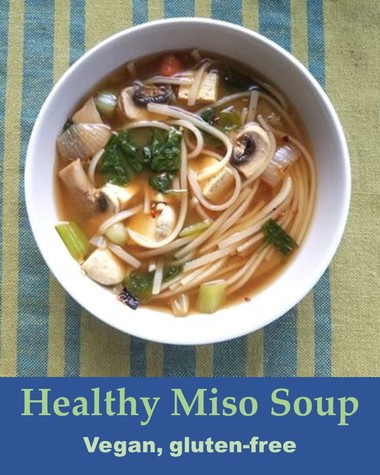
This soup is a great option for a cool fall day. It’s filling and nutritious, packed with lots of veggies. Plus the simplicity and ease of this dish make a perfect option, even if you haven’t prepared any of the ingredients beforehand.
We especially love to make this soup when we feel a cold coming on. When we’re looking for even more nutrition, we add even more ginger and garlic. In addition, we might swap the spinach for kale and add some green peppers. The vitamin C content increases dramatically with the addition of these foods, boosting your immune system just in time for cold season. For those looking for less sodium in the dish, half or omit the soy sauce. For gluten-free option, use liquid aminos instead of the soy sauce. Additionally, you can add more garlic, ginger, and onion if you’re looking for more flavor. The miso paste provides a good sweet, yet savory flavor that hits the spot, making up for the lack of soy sauce. This is one of my favorite meals to whip up. It’s packed with veggies and tofu, so it’s fairly healthy. Plus it has great flavor. If you chop up the veggies and prepare the tofu beforehand, it is also a very quick meal to put together. Looking for more spice? Add a little more Sriracha and curry powder.
Potato skins are some of our favorite appetizers. They're simple, but can be so delicious if topped with the right ingredients. Not to mention that they are super versatile. Some of our favorite variations include:
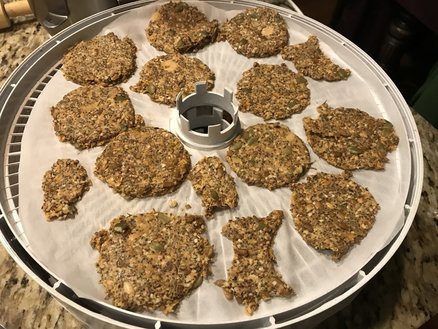
This recipe offers a gluten-free and healthful alternative to store-bought crackers.
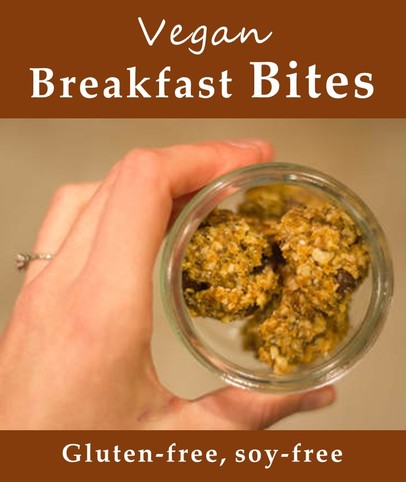
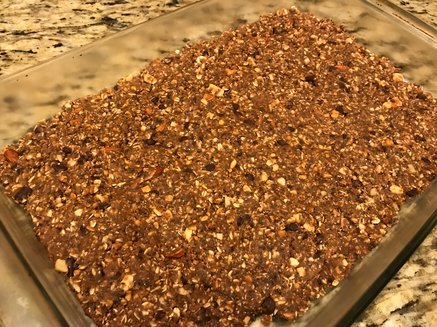
Ingredients 2 cups oats 3 tbs sunflower seeds 3 tbs chia seeds 3 tbs ground flax seed 3 tbs sesame seeds 1/4 cup pumpkin seeds 3 tbs hemp seeds 1 tbs of dried rosemary 1.5 tsp of smoked paprika 1 tsp of cumin 1 tsp of tumeric Aquafaba* from one 16 oz can of chick peas (you can also add a handful of the chick peas to the recipe if you like) 1 cup of water 1 tbs olive oil Note: I also tested this recipe with adding chopped up tomatoes and it was delicious! Make sure you use the dehydrator method though if you add veggies to the recipe. *This is the liquid in the can of the chick peas Method: Put all ingredients in a large bowl and mix well with your hands. Let it sit for about 20-30 minutes. Scoop out a handful of the mixture and set on sheet of parchment paper and top with another sheet of parchment paper. Using a rolling pin, flatten the mixture out. At this point, you have one of two options: using a dehydrator or using an oven. Dehydrator method If you have a dehydrator, use a round cookie cutter and cut and put the mixture on your dehydrator trays. I set my dehydrator to 160 degrees Fahrenheit and let it run over night (about 8 hours). Oven method If you do not have a dehydrator, you can put the flattened mixture on a cookie tray and bake in your oven at 350 for about 30 minutes. Check intermittently though as ovens may heat differently and you don't want to burn it. Remove the tray, and turn over the mixture the best way you can (I put another piece of parchment paper on top of the flattened mixture and put a second cookie tray on it and flipped it over). Bake for another 30 minutes or so and let cool. Once cool, break the flattened mixture into bite-sized pieces and enjoy! These granola bars are a great quick breakfast or just a sweet snack! Plus they're gluten free! I make these almost every weekend to have as a quick, healthy breakfast. Most ingredients can be found in bulk and are relatively inexpensive.
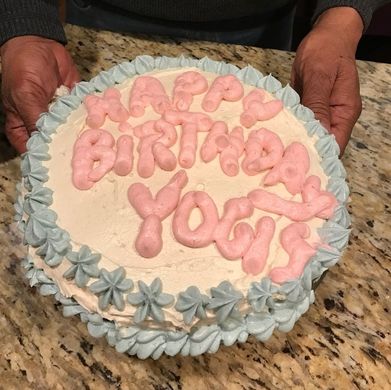
Gluten Free CakeThis cake is the perfect moist-ness and is topped with a frosting based off of one of our favorite vegan frosting recipes: The Chicago Diner! However, we made this gluten free by using rice flour. Ingredients: 1/3 cup vegan margarine 1/3 coconut oil 2/3 sugar or sugar substitute (I used a product called Swerve for the above cake) Vegan egg substitute to equal three eggs (we like Vegg, but you can also make flax eggs) 5 tsp vanilla 2 cups rice flour 1 tsp white vinegar 1 cup plant based milk Process: Cream margarine and coconut oil in a mixer or by hand. Add sugar, egg substitute and vanilla and mix thoroughly. Mix all the dry ingredients well in a bowl. Add to the wet ingredients slowly and mix well. Add the plant based milk and continue to mix until fully mixed in. Heat oven to 350 degrees and bake for 55 minutes or until a toothpick comes out with no batter sticking to it. Gluten Free Vegan IcingIngredients:
1 cup plant based milk 1/2 cup rice flour 1.5 cups vegetable shortening 1 2/3 sugar or sugar substitute (I used Swerve confection sugar) 2 cups vegan margarine 2 tbsp vanilla extract Heat the plant based milk in a pot. Add the rice flour and mix until thickened. This happens within 3 - 4 minutes so keep mixing so it doesn't burn. Make sure the mixture is smooth and remove from heat to cool. Mix the shortening and sugar until light and fluffy and then add the margarine and continue to mix until combined with the shortening mix. Add the cooled rice flour mix and mix for about 5 minutes until light and fluffy. 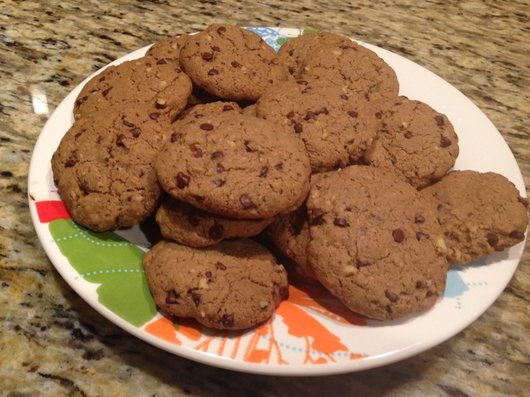 Who doesn't love chocolate chip cookies? This classic cookie dish is made gluten-free by using rice flour. Ingredients 2/3 cup coconut oil 1 cup brown sugar 1/2 cup plant based milk 2 tsp vanilla 2 cups rice flour 2/3 cups almonds, grounded 1 tsp baking soda 1 tsp baking powder 1 cup walnuts, chopped 1 cup vegan chocolate chips Pre-heat oven to 350 degrees. Mix coconut oil with brown sugar. Add vanilla and plant based milk. Add baking soda and baking powder with rice flour, and blend with coconut oil/brown sugar mix. Add chocolate chips and walnuts. Using a tablespoon, make small round disks, about 32 or so and bake at 350 for about 20 minutes. Remove from oven and let cool on the cookie pan before removing with spatula or else the bottom may stick to the cooking pan and the cookie will break This recipe is a savory take on one of our first recipes (Breakfast Crepes). The crepe portion of the recipe is very similar to our sweet crepes recipe, only omitting the sugar. The best part of this recipe is definitely the artichoke cream sauce, which is so flavorful! It really compliments the mushroom and spinach filling
|
Categories
All
|



 RSS Feed